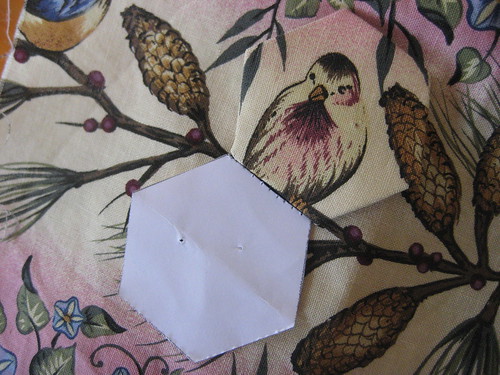
Plenty of quilters will fussy cut to get geometric patterns happening in their hexagons, but I’m going to show you something with a twist: how to use large prints and motifs. Such as this beautiful bird print. I wish I could remember the name of it so I could get more, but as I have only a tiny amount left I want to preserve it in my quilt. However the birds are each twice the size of my patches.
Though I haven’t shown it here, this is a great opportunity to use print motifs that have been sliced in half when your length of fabric has been cut from the roll, or are near the selvedge. It also creates a sense of movement and difference, when it’s sewn in with plainer flowers, that I like a lot.

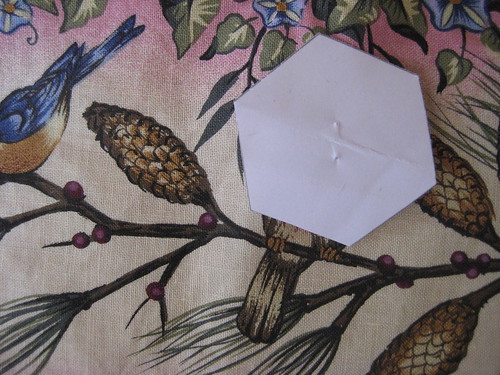
First, lay a patch over one motif. You will need two motifs so two opposite halves, or one half and one whole, work nicely. Consider carefully where the edge will go and how the patch will sit in your overall design. Cut around the patch, leaving a generous — and I mean generous, like half an inch — seam allowance.

Pin the patch to the back of your paper and baste with your preferred method. Then lay it over your second motif.
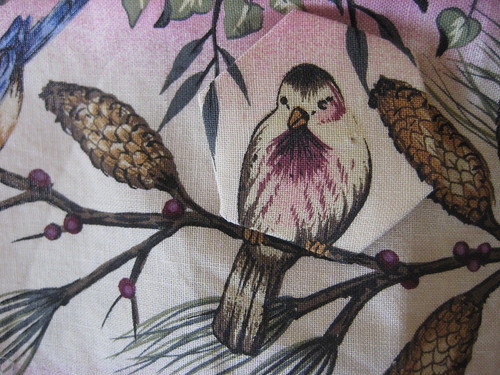
Nice! You can hardly tell there’s a patch on there. OK, now you need to lay a second paper patch nest door and pin it in place.
Cut again, using another generous seam allowance. With the pin still in place, finger press the fabric around the paper to mark placement. Then remove the pin and move the paper to the back.
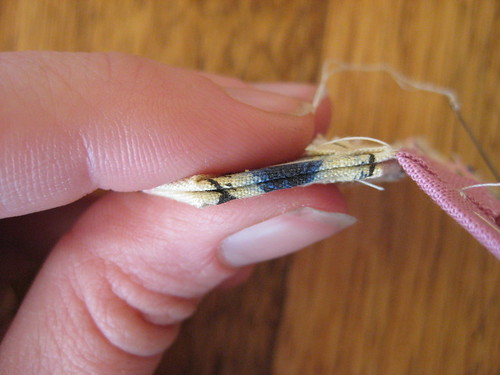
The next step is the trickiest stage. You will need to reposition the paper exactly, which usually means a couple of tries for me. Take care that the sides match up as nicely as the long side.

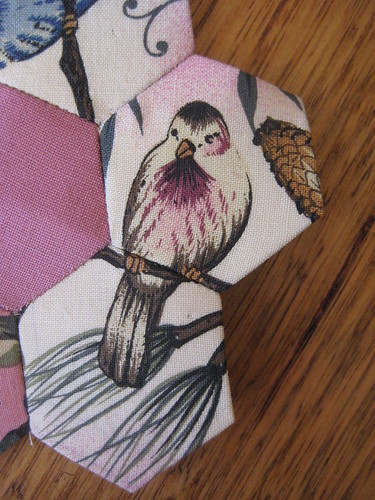
Baste the paper to the second patch. Check that everything’s still in place. If not, you will have to take the basting out and try again — like I said, you need to have a lot of seam allowance and it’s fiddly. But it’s worth it, as long as you’re not trying to fussy cut an entire quilt! ![]()
Match them up and…
Sew together as per usual into…
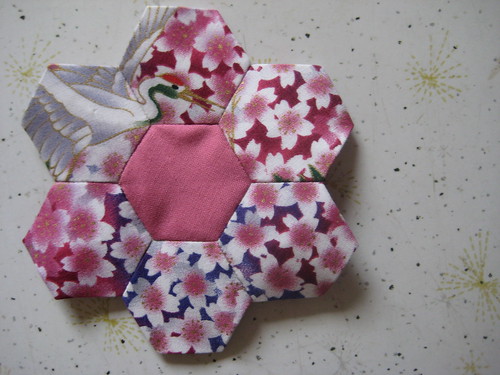
A birdy flower! Hooray! Now you may cut away that bulky excess seam allowance.
Try this out for yourself — and please tell me in the comments if anything seems confusing, I’ll edit the tutorial.
I have been very lax with blogging and I do apologise but on the up side, I have a super-exciting new project which I hope I can share with you soon. In the mean time, there’s a special post coming up next in which I will share a way of making darts that will change your life for the better! See you soon…